 Sante-Gruppe

Choosing a flat bottom coffee bag involves more than picking a colour and a weight printed on a supplier’s catalogue. The bag also needs to accept your coffee, work with your filling process, and give customers a practical way to open and close it.
Start with a physical sample that fits your coffee. Then confirm the zipper, initial heat seal, valve, Materialstruktur, and artwork layout before ordering. This guide explains what to check when buying custom flat bottom coffee bags for the first time.
What is a flat bottom coffee bag?
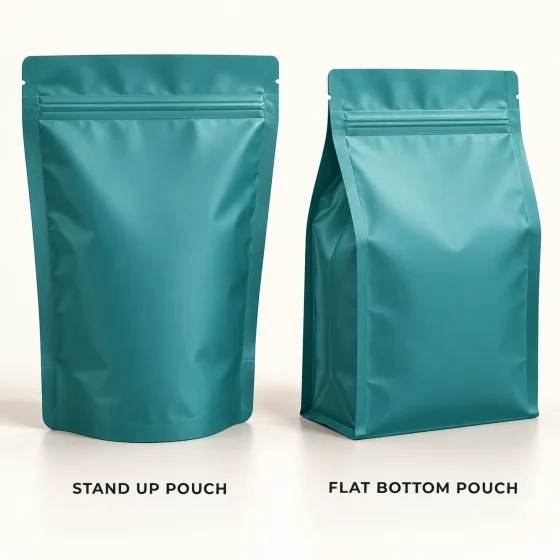
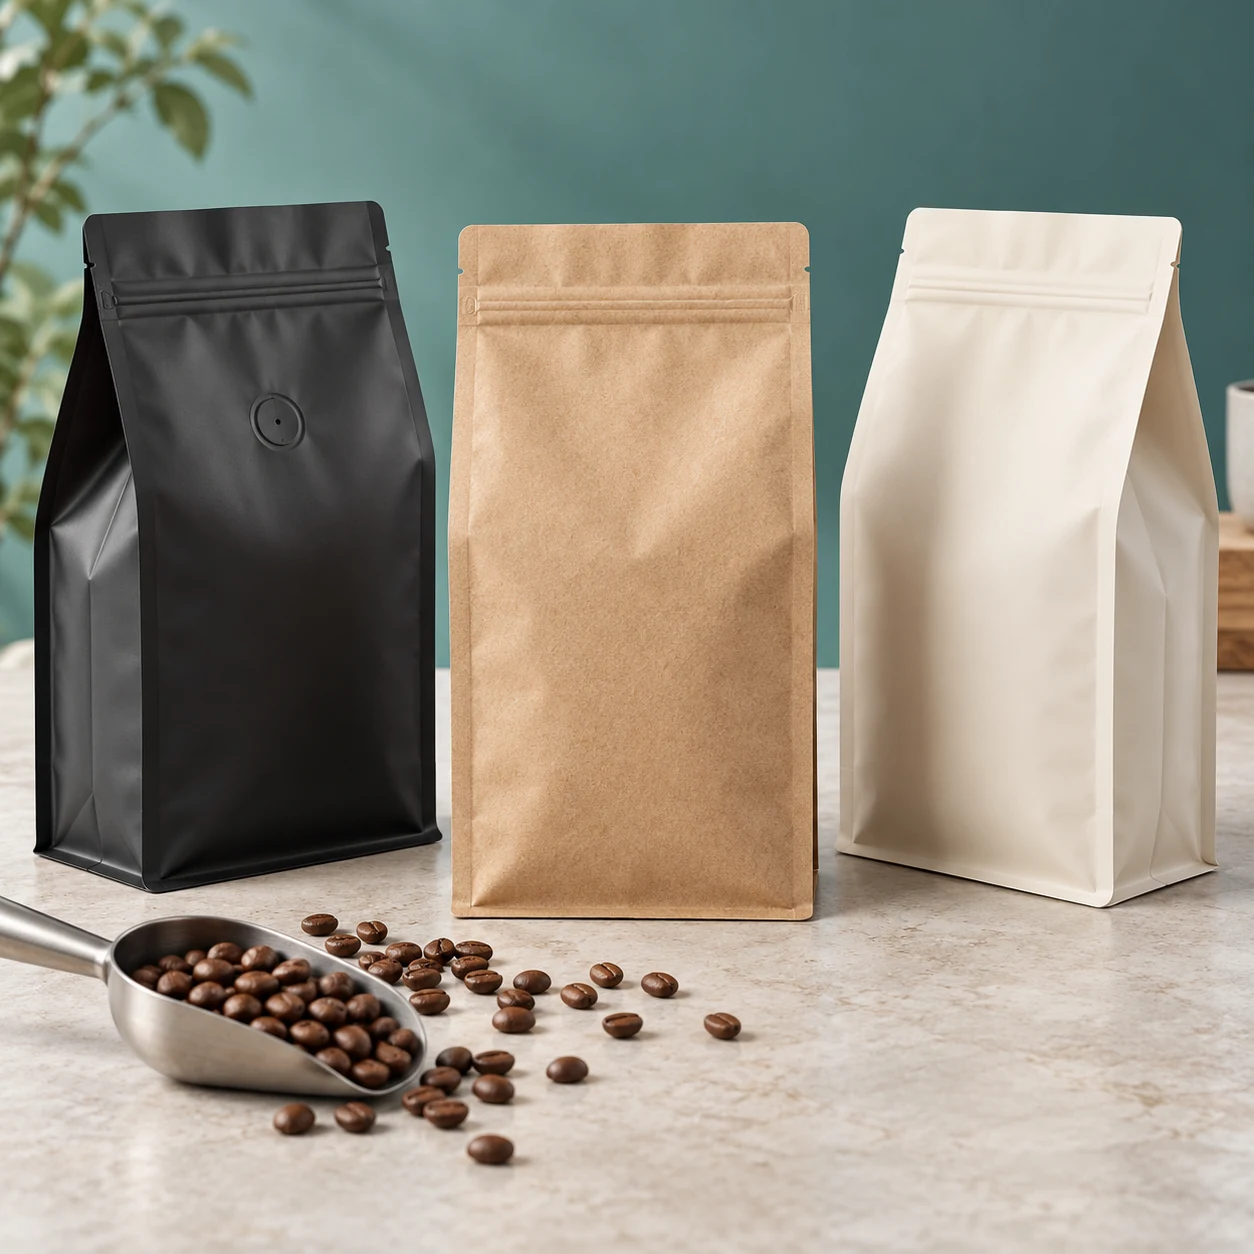
A flat bottom bag has a distinct rectangular base and expandable side gussets. Once filled, it has a box-like outline with defined front, back, and side panels. Suppliers may also call it a box pouch or, particularly in Chinese sourcing, an eight-side-seal bag.
Names alone can be confusing. Send a reference photograph and ask for a drawing showing the base, side folds, opening, and seals. This helps the supplier distinguish your request from a conventional stand up pouch or a side-gusset bag with a different bottom construction.
The flat base can support an upright display, but standing performance still depends on the dimensions, material, and fill level. Test the bag at the amount of coffee you actually plan to sell.
1. Choose the size by filling it with your coffee
Common sales weights such as 250 G, 500 G, or 1 kg are useful starting points for an enquiry. They are not universal pouch dimensions. Whole beans and ground coffee occupy different volumes, and the same weight of different coffees may fill a bag differently.
Ask for samples in two nearby sizes and fill both to your target net weight. Check whether the pack looks comfortably filled, whether it stands as intended, and whether the top closes without squeezing coffee into the sealing area.
Ask the supplier to explain every dimension on the drawing. Confirm the front width, overall height, and opened side depth, and whether measurements are external. Also identify how much space the zipper and top seal take away from the usable opening.
A useful sample check includes the retail shelf and shipping carton. A bag that looks tidy on a desk may be too tall for a shelf or leave awkward gaps in your planned carton.
2. Choose an opening your customer can use
A zipper helps customers close the bag after opening. It also changes how you fill the pack and where the first opening takes place. Ask to see the actual closure rather than relying on a small product photograph.
| Option | What to confirm |
|---|---|
| Press-to-close zipper | Can customers reach the opening, scoop or pour the coffee, and close the full zipper easily? |
| Pull-tab or pocket-style zipper | Where is the tab, what does the first opening reveal, and which opening does your packing process use? |
| No resealable zipper | How will the customer open and store the coffee after breaking the original seal? |
Closure names and layouts vary between suppliers. Ask for a short opening demonstration or a sample, then let someone unfamiliar with the bag try it. That often reveals unclear tear instructions or an inconvenient pouring opening.
The zipper and the initial heat seal perform different jobs. Agree on the filling route and final sealing area for your chosen design. Do not assume that every flat bottom pouch is filled and sealed in exactly the same way.
3. Confirm the degassing valve with your roaster
Roasted coffee releases gas, including carbon dioxide. A suitable one-way degassing valve allows excess gas to escape while limiting air entering through the valve. Valve manufacturer Wipf explains this opening-and-reclosing principle in its technical valve guide.
Whether you need a valve, and which type, should be discussed with your roaster or packing partner. Explain whether you pack whole beans or ground coffee, your roast-to-pack process, and any gas-flushing method. Ground coffee may also require attention to the valve’s particle protection.
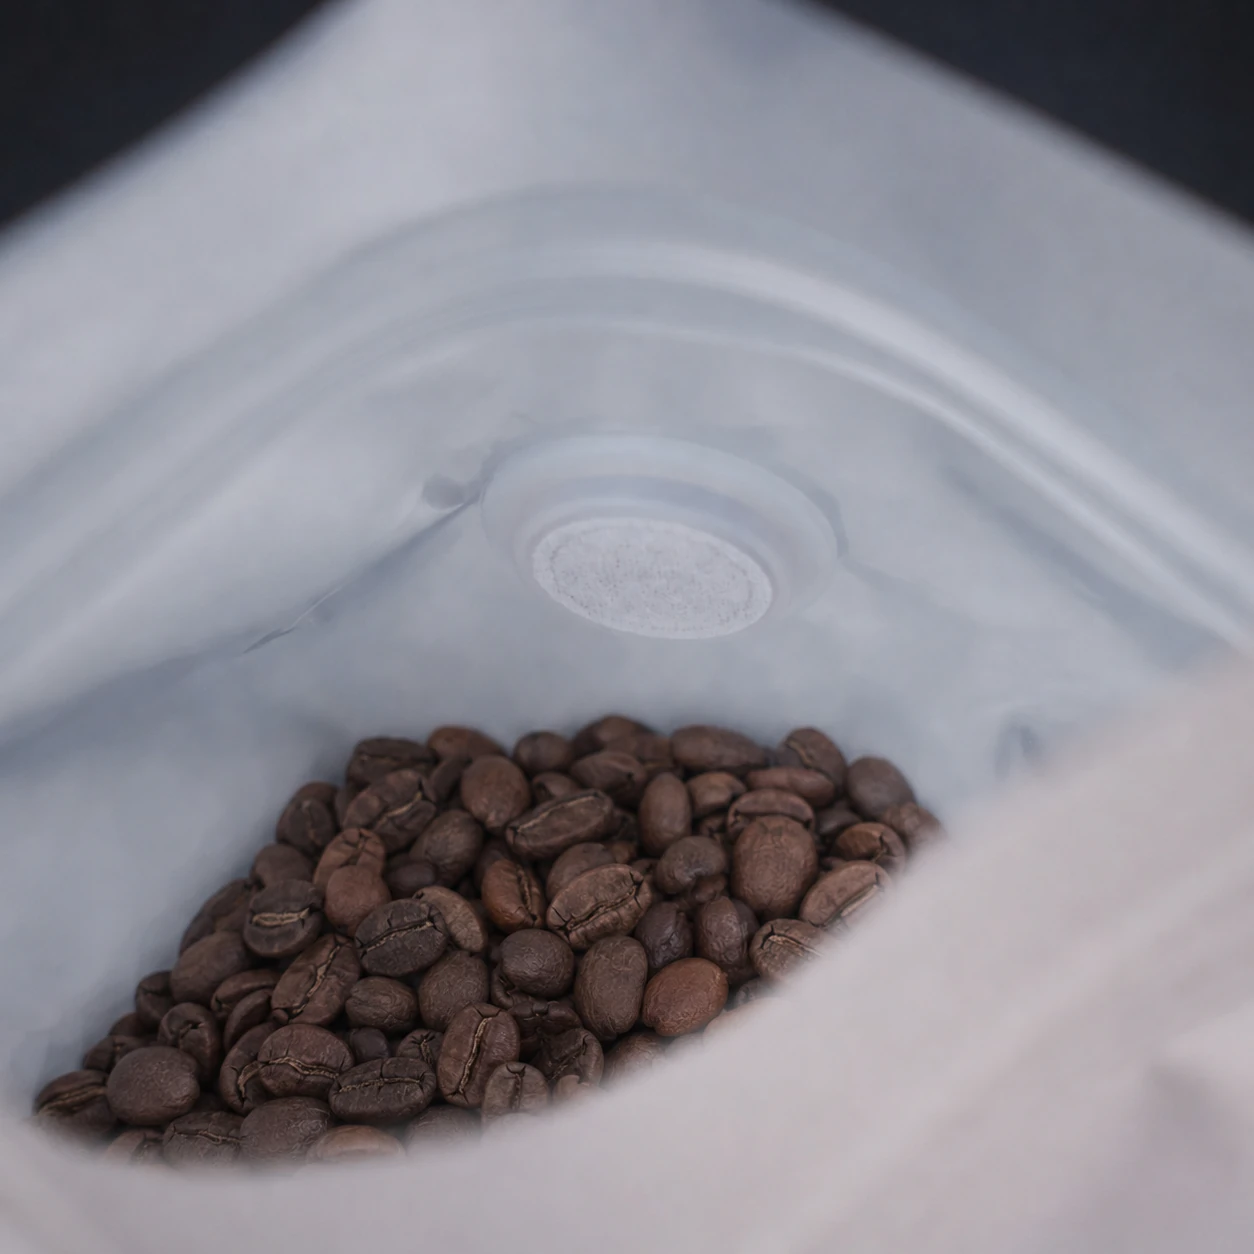
Put the valve position on the approved drawing. Check that it works with the intended fill level, folds, labels, and artwork. Ask the supplier to confirm compatibility with the proposed film and how the installed valve is checked.
A valve does not replace the pouch’s barrier material or final seal, and its presence does not establish a particular shelf life. Validate the complete coffee package and storage plan.
4. Choose protection before the finish
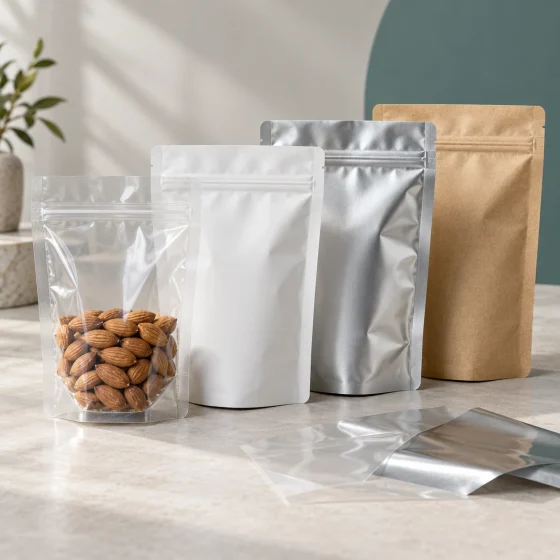
Matte black, Weiß, metallic, and kraft-look finishes can all suit a coffee brand. Their appearance does not tell you the full material structure. Two similar-looking bags may provide different protection.
Explain your intended storage conditions and unopened shelf-life target, then request a suitable structure and relevant barrier information. Where oxygen and moisture protection matter, ask what data supports the recommendation and under which test conditions.
If you want a clear window, discuss the effect of light exposure and the protection offered by the window area. If you want a paper look or a recycling claim, confirm the complete construction and the requirements in your sales market. Our pouch materials guide explains these questions in more detail.
5. Plan the artwork across the folds
A flat bottom pouch gives you defined front, back, and side panels. That is useful space for a brand name, roast information, brewing notes, and other product information, but the layout needs the actual dieline.
Ask for a marked drawing showing folds, seals, the zipper, tear features, valve, safe print areas, and the filling opening. Keep essential text and barcodes clear of areas the supplier identifies as unsuitable.
Check the design on a filled mockup. Side text that is easy to read on a flat artwork file may disappear into a fold. Before approving production, also confirm where a roast date, batch code, or retail label will go.
A practical sample approval checklist
- Fill: the target weight fits, and there is room for the planned closing and sealing process.
- Open: the first opening is clear, and the usable opening suits scooping or pouring.
- Schließen: the zipper engages across its full length after the bag has been opened.
- Seal: the proposed material and pouch layout work on the intended equipment.
- Display: the filled pouch stands as required and the important text remains visible.
- Ship: representative filled samples fit the carton and withstand the agreed handling checks.
Keep the approved drawing and sample with the written specification. List the material structure, thickness convention, dimensions, closure, valve, print finish, quantities, and agreed tolerances. This gives both sides a clearer reference when production bags arrive.
Frequently asked questions
Is a flat bottom pouch the same as an eight-side-seal bag?
The names are often used for similar box-style flexible pouches, especially in sourcing conversations. Confirm the construction with a photograph and drawing because terminology can vary.
Can I order a 250 g flat bottom bag without trying a sample?
You can use 250 g to describe your target weight, but confirm the fit with your own coffee before approving the dimensions. Capacity depends on the product and usable pouch volume.
Does every flat bottom coffee bag need both a zipper and a valve?
No single combination suits every packing plan. The zipper supports use after opening; the valve addresses gas release. Select each feature with your coffee, process, and customer use in mind.
Request flat bottom coffee bag samples
To discuss custom flat bottom pouches with Sante Packaging, send your coffee type, target net weight, preferred appearance, closure requirements, order quantity, and delivery destination. Include a reference photo or existing bag where possible.
For example: “We need a flat bottom bag for 250 g of whole-bean coffee, with a resealable zipper and a valve. Please recommend two sample sizes, confirm the filling and sealing route, and provide a drawing for our artwork.”
Send your requirements for a quotation, or compare stand up and flat bottom pouch construction if you are still choosing the format.