 Sante-Gruppe

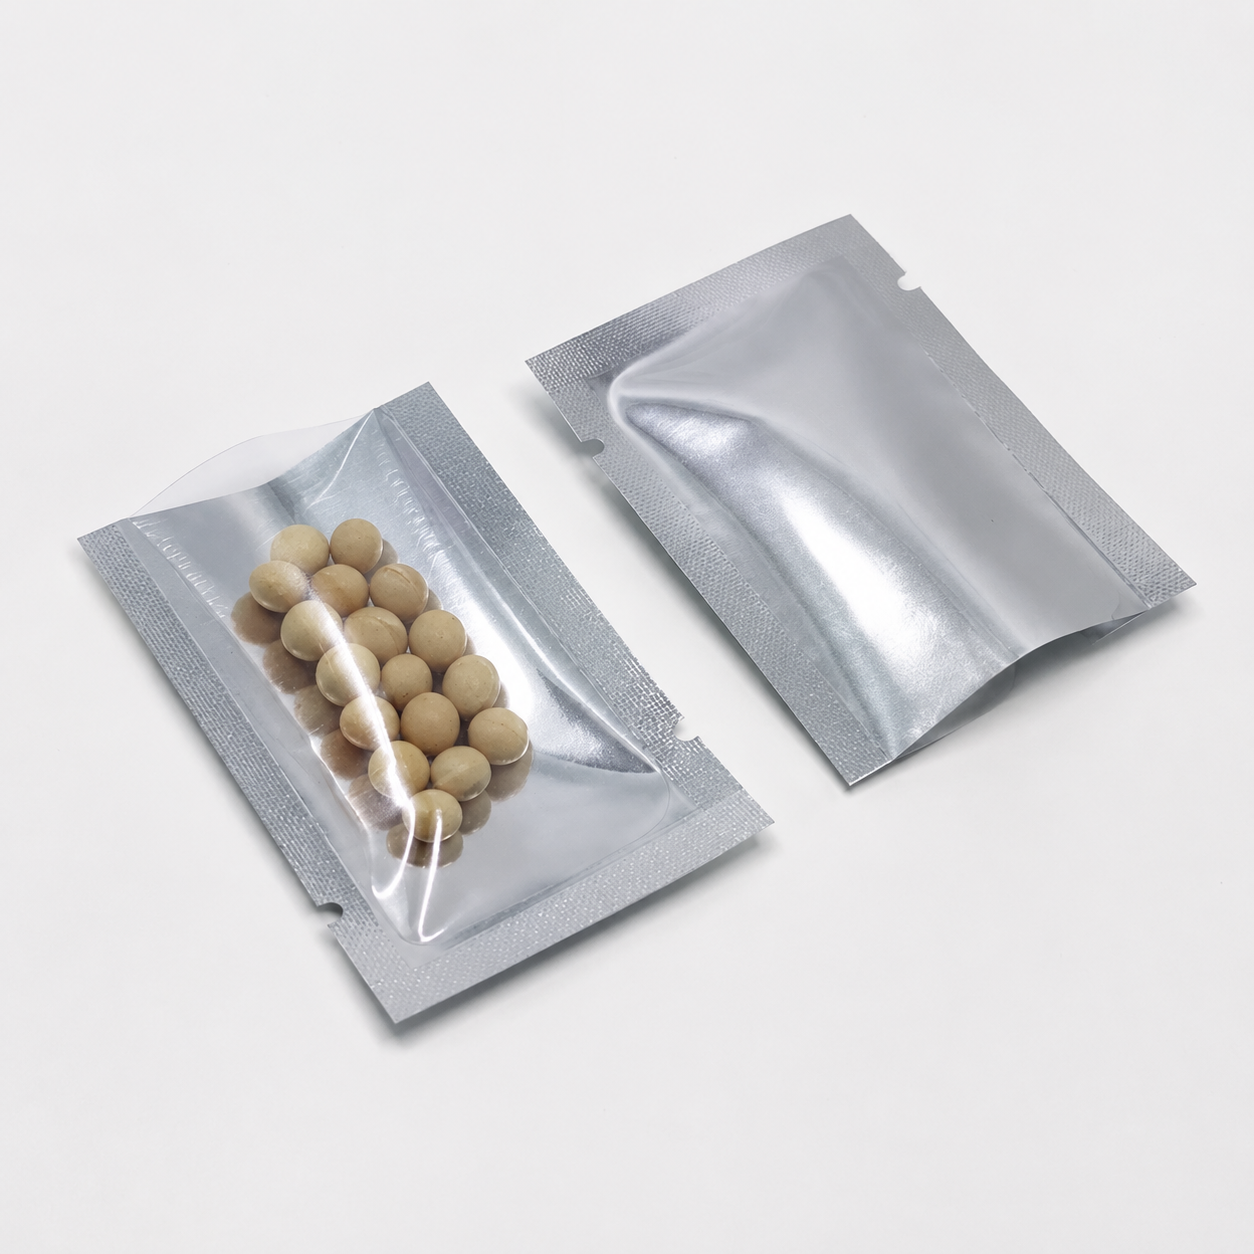
Three side seal pouches are flat bags supplied with three edges sealed and one edge open for filling. They are worth considering for portion packs, samples, snacks and small retail items, especially when the pack will lie flat or hang from a display hook.
Start with your product, how customers will use it and how you will fill the bag. Then choose the size, material and opening features. A pouch that looks right in a photo may still be too tight to fill or unsuitable for your storage conditions.
What makes a three side seal pouch different?
In a common top-fill design, the left, right and bottom edges are sealed during production. You fill through the top and seal the remaining opening. Some designs use a different filling edge, so confirm this before ordering.
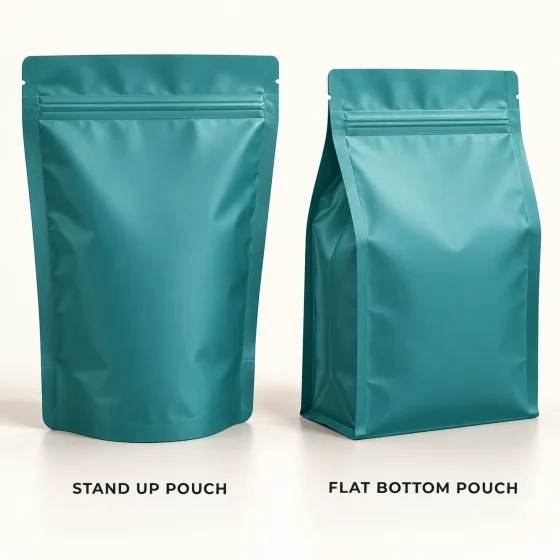
A standard three side seal pouch has no expanding bottom gusset. It is intended to lie flat or hang, rather than stand securely on a shelf. A zipper can be added for reclosing, while a tear notch helps customers open the sealed pack.
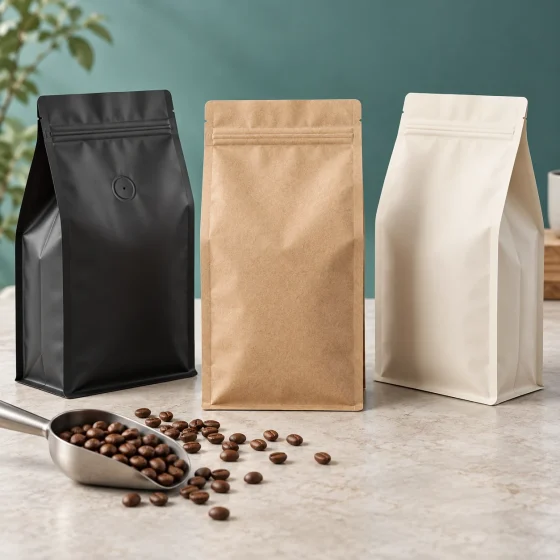
If upright shelf display is your main priority, compare this format with a stand-up pouch or flat bottom pouch. Our stand-up pouch and flat bottom pouch comparison explains those alternatives.
1. Check whether the flat format suits your product
Small portions of dried foods, seasonings, tea samples and accessories can suit this format. The material and seals must still match the contents. A bag for a few screws has different requirements from a bag for a food powder.
- Think about the shape: rounded or bulky contents can make a flat bag bulge and use more space than expected.
- Check sharp edges: pointed parts or hard product corners may need better puncture resistance.
- Plan the display: decide whether the pack will sit in a carton, lie on a counter or hang from a hook.
- Consider the process: vacuum packing, freezing and hot processing need suitable specifications. Do not assume any flat pouch can handle them.
The useful question is: can this shape protect the product and work in your packing process? Appearance comes after that.
2. Choose the size using the actual contents
Do not select a pouch by filling weight alone. The same weight of powder, dried fruit and metal parts can take up very different amounts of space.
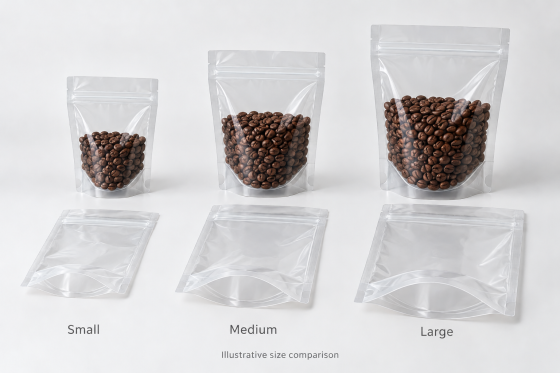
Suppliers usually quote the outside width and height. The side seals, bottom seal, zipper and final sealing area reduce the usable space. Ask for a drawing that shows both the overall dimensions and the area available for filling.
A simple sample check:
- Put the intended quantity of your actual product into a sample pouch.
- Check that the opening is wide enough for easy filling.
- Leave the sealing area clear. The product should not push into the top seal or strain the zipper.
- Seal the sample with your intended equipment, then check how it fits in its display and shipping carton.
For example, a bag may hold the correct amount of tea but leave too little room to close cleanly. The solution may be a different width or height, rather than simply choosing a thicker film.
3. Decide whether you need a zipper
A zipper is useful when customers will open and close the bag several times. A pouch without a zipper can be a sensible choice for a single-use sample or a portion that will be used at once.
| How the pack will be used | Feature to discuss |
|---|---|
| Opened once and emptied | No zipper, with an appropriate easy-opening feature |
| Used over several occasions | Resealable zipper |
| Displayed on a retail hook | Hang hole, positioned clear of the product cavity |
| Opened by tearing the sealed header | Tear notch and enough space above the zipper |
A zipper is a reclosure feature. For a retail food pack designed to be heat sealed, closing the zipper alone does not replace the final heat seal. Confirm where the last seal will be made, particularly if the pouch is filled from the bottom.
4. Choose material for protection, then appearance
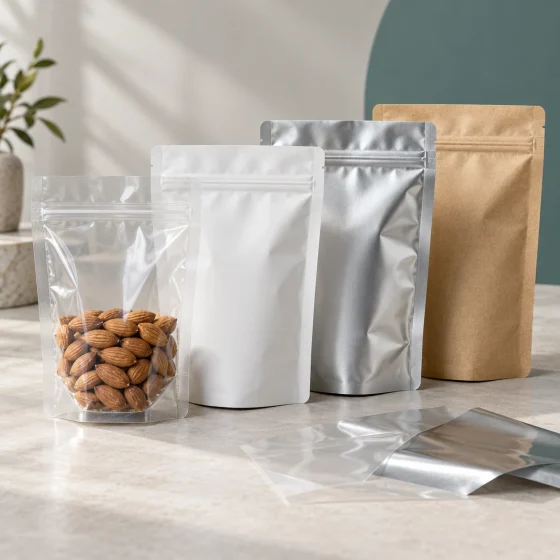
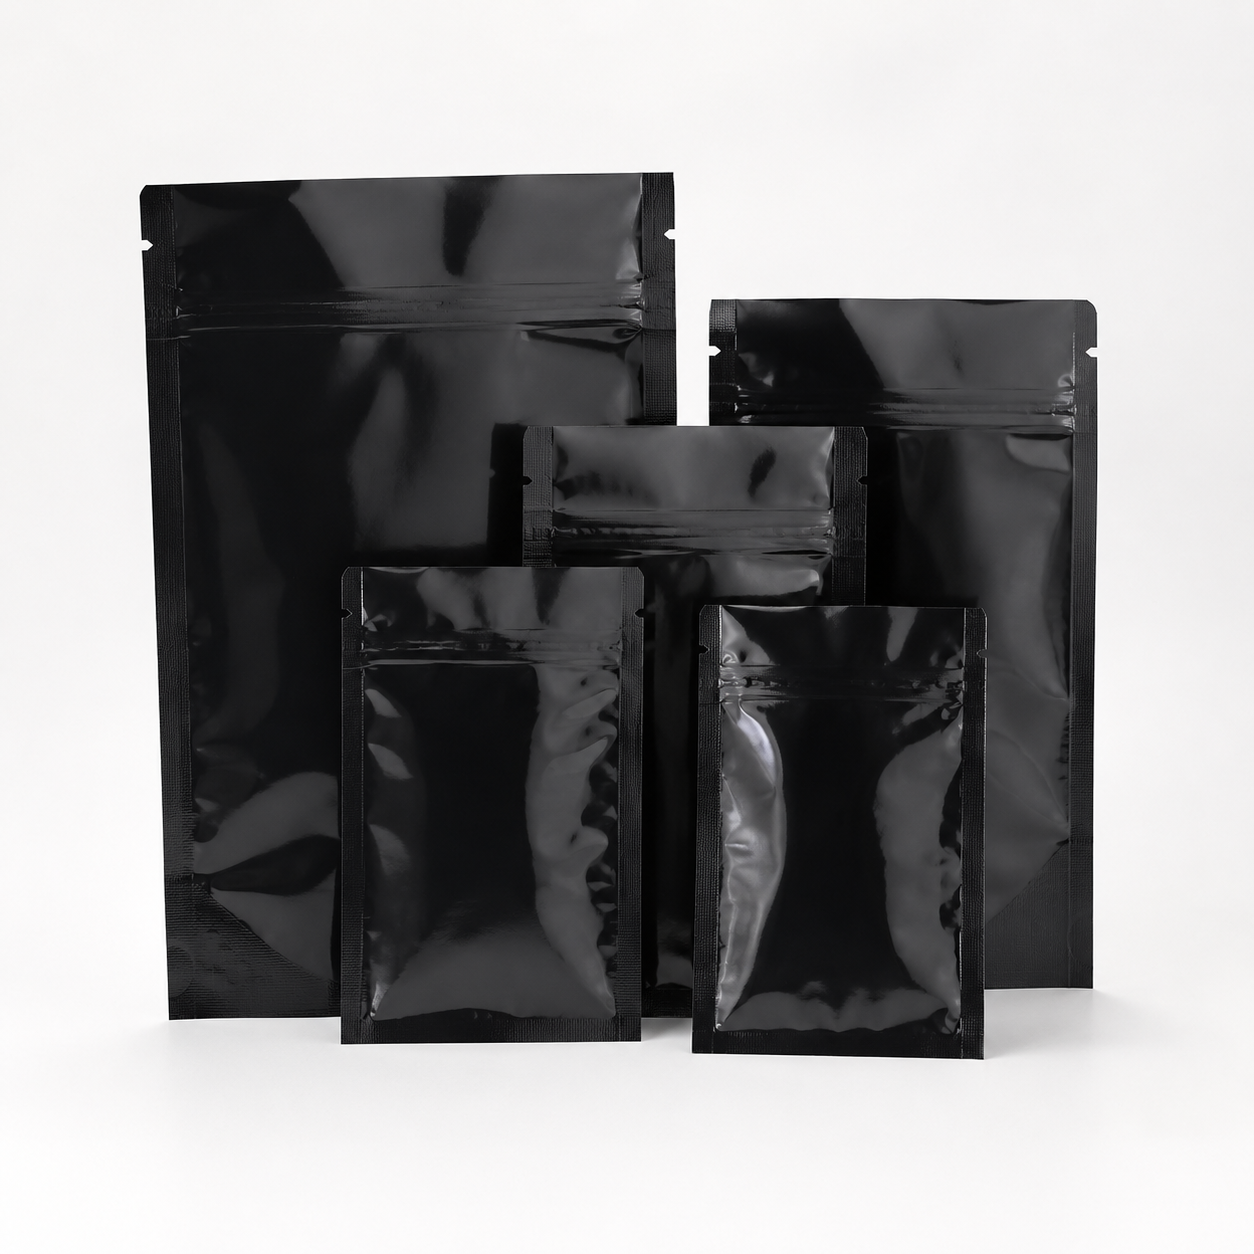
Klar, silver, Schwarz, matte and glossy describe appearance. They do not give you a complete material specification. A silver-looking surface, for example, does not tell you whether the construction contains aluminum foil or a metallized film.
Tell the supplier what can damage your product: Feuchtigkeit, Sauerstoff, light, punctures or a combination of these. Also explain the intended storage conditions and target shelf life. Ask the supplier to recommend a film structure and explain the relevant performance data.
A clear panel helps customers see the contents. An opaque structure can be considered where light protection matters. In both cases, the complete film construction and the finished seals need to meet the product’s requirements.
For food packaging, request the relevant food-contact documentation for your destination market and intended use. For longer storage, confirm performance through suitable product and packaging tests. The bag’s color or thickness alone cannot establish shelf life.
5. Test filling and sealing before a full order
A good-looking sample is only the beginning. Run a short trial with the actual product, pouch material and sealing equipment you intend to use.
Keep powder, oil, crumbs and folds out of the sealing area. Ask the supplier for a starting sealing range, then confirm the temperature, pressure and sealing time on your own equipment. There is no single setting that works for every film structure.
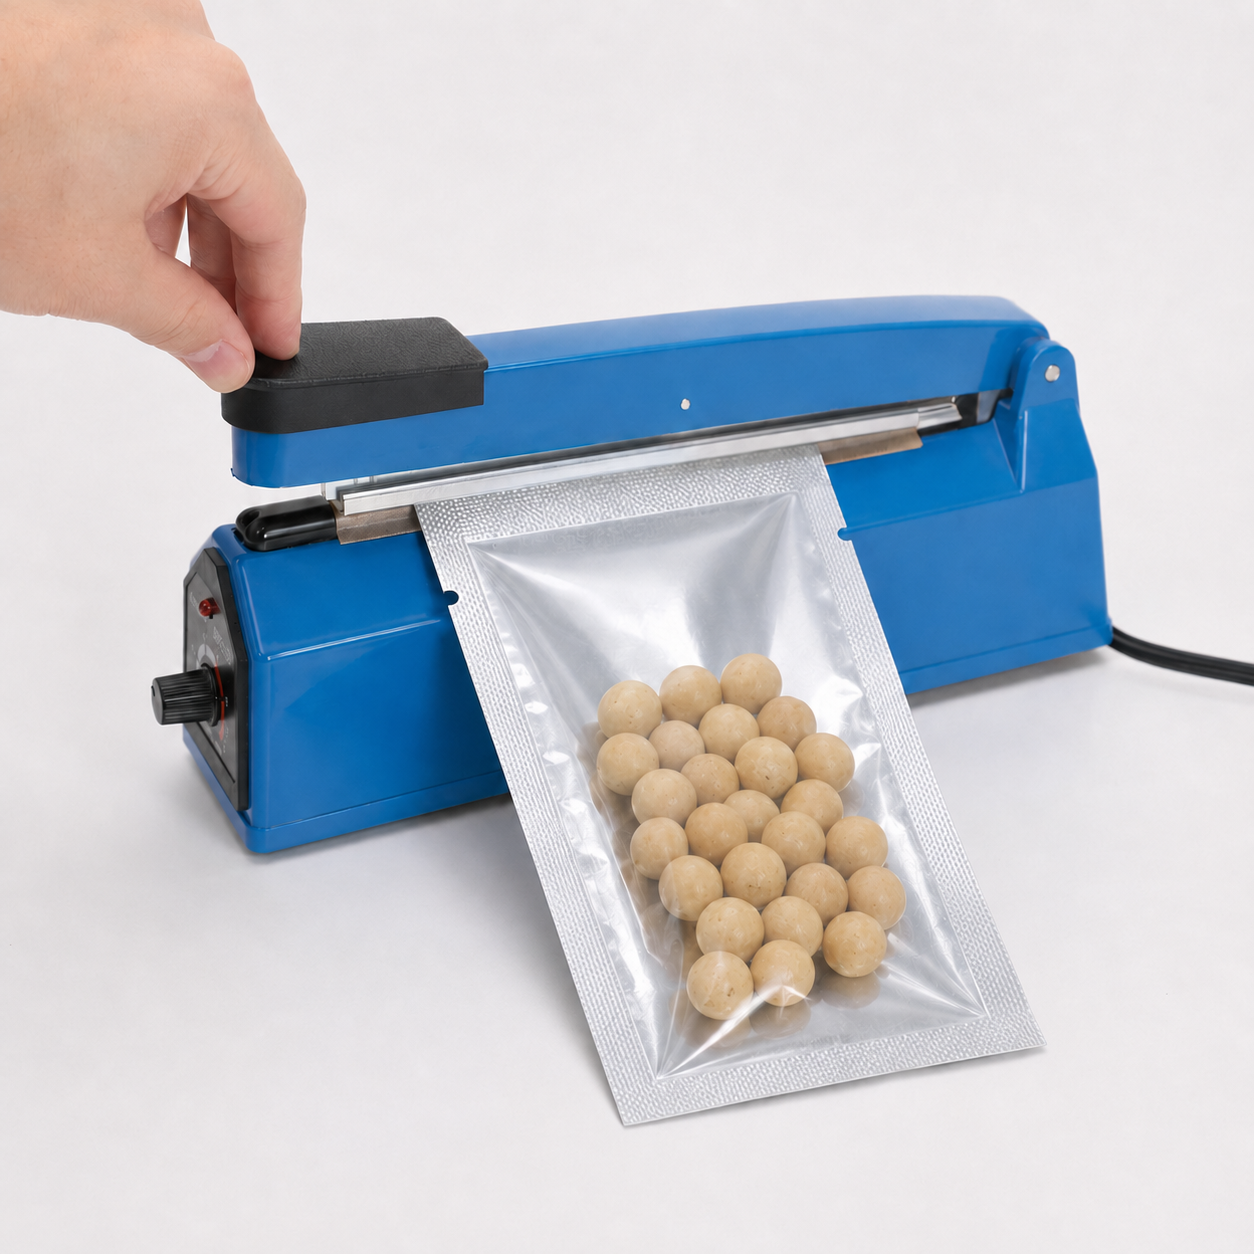
Check for visible gaps, wrinkles or damage, and agree on appropriate seal-strength or leak checks for your application. A neat-looking seal is not enough to prove the package performs correctly. See our guide to zippers and heat sealing for the difference between reclosing and sealing.
What should you send when requesting a quote?
You do not need to know every packaging term. These details give the supplier a useful starting point:
- Product name, a photo and the quantity or weight in each bag.
- Required outside dimensions, or a sample bag if the size is undecided.
- Storage conditions and intended shelf life.
- Whether you need a zipper, tear notch, hang hole or clear panel.
- How you plan to fill and seal the pouch.
- Printing artwork, order quantity and delivery destination.
Before approving production, check the drawing, filling edge, material specification and artwork together. Keep important text and barcodes away from seals and opening features. Ask the supplier to confirm the minimum order quantity and lead time for the exact specification.
Frequently asked questions
Can a three side seal pouch stand up?
A standard version has no supporting bottom gusset. Choose it for flat or hanging display. If dependable upright display is essential, discuss a stand-up or flat bottom design.
Do all three side seal pouches have a zipper?
Nein. Zippers are optional. Choose one when reclosure is useful, and confirm the filling and sealing arrangement.
Is a thicker pouch always better?
Nein. Thickness is only one part of the specification. Film structure, seal quality, product shape and storage conditions also matter. Ask for a sample suited to the intended use.
Can I order a custom size and printed design?
Custom dimensions, printing and opening features can be discussed with Sante Packaging. Available options, minimum quantities and lead times depend on the final specification.
Need help choosing a flat pouch?
Send Sante Packaging your product photo, target filling quantity and preferred display method. A reference bag is helpful if you have one. We can use those details to discuss a suitable three side seal pouch and the samples needed for your packing trial.
E-Mail: baobor@sante.cn | WhatsApp (Englisch): +86 13590454892
Technical reference: SEE three side seal pouch overview. Image examples illustrate pouch styles and do not establish a material specification.